Hello, hello and welcome! In my family "puppy" cards are always a hit and I created this one for Watercooler Wednesday's Challenge. Kath is our hostess this week and we would love for you to play along.
Wednesday, November 18, 2020
WWC298 - Kath's Challenge: Anything Masculine Goes
Wednesday, September 16, 2020
WWC289 - Heidi's Challenge: Anything Goes With a Masculine Twist
Hello, hello...so glad you stopped by! This week is all about masculine cards at Watercooler Wednesday and Heidi is our hostess.
I created a silhouette card with a darling die-cut puppy and cake toting bear. My background is a second generation wash using three colors of distress ink: Twisted citron, cracked pistachio and lucky clover. I made a background for a different card and still had ink left over, so I sopped it up on a Bristol panel. I thought the greens did a good job of simulating the forest.
Friday, August 28, 2020
Altenew Academy Level 2 Final Project
Hello, hello....so pleased you stopped by! I finished Altenew Academy's Level 2 Classes and wanted to share my final project. I was challenged to make four masculine cards for four different occasions. I had loads of ideas and had a lot of fun creating. To make my cards masculine, I used my husband's favorite colors....aqua, blue and green. Mark probably wears an aqua or blue Columbia fishing shirt five days out of seven...he calls it his uniform! I also used lots of die-cuts because Mark loves those on cards. The unifying elements are handcrafted backgrounds and embossed sentiments on navy cardstock. I've learned so much over the past three months but I decided to spotlight three favorite classes:
- Beyond Basic Backgrounds - We learned to make beautiful backgrounds to enhance our cards.
- Celebration Stencil Techniques - We learned to expand our stenciling repertoire.
- Masking Unleashed - We learned various masking techniques that up the "wow" factor of our cards.
Encouragement Card:
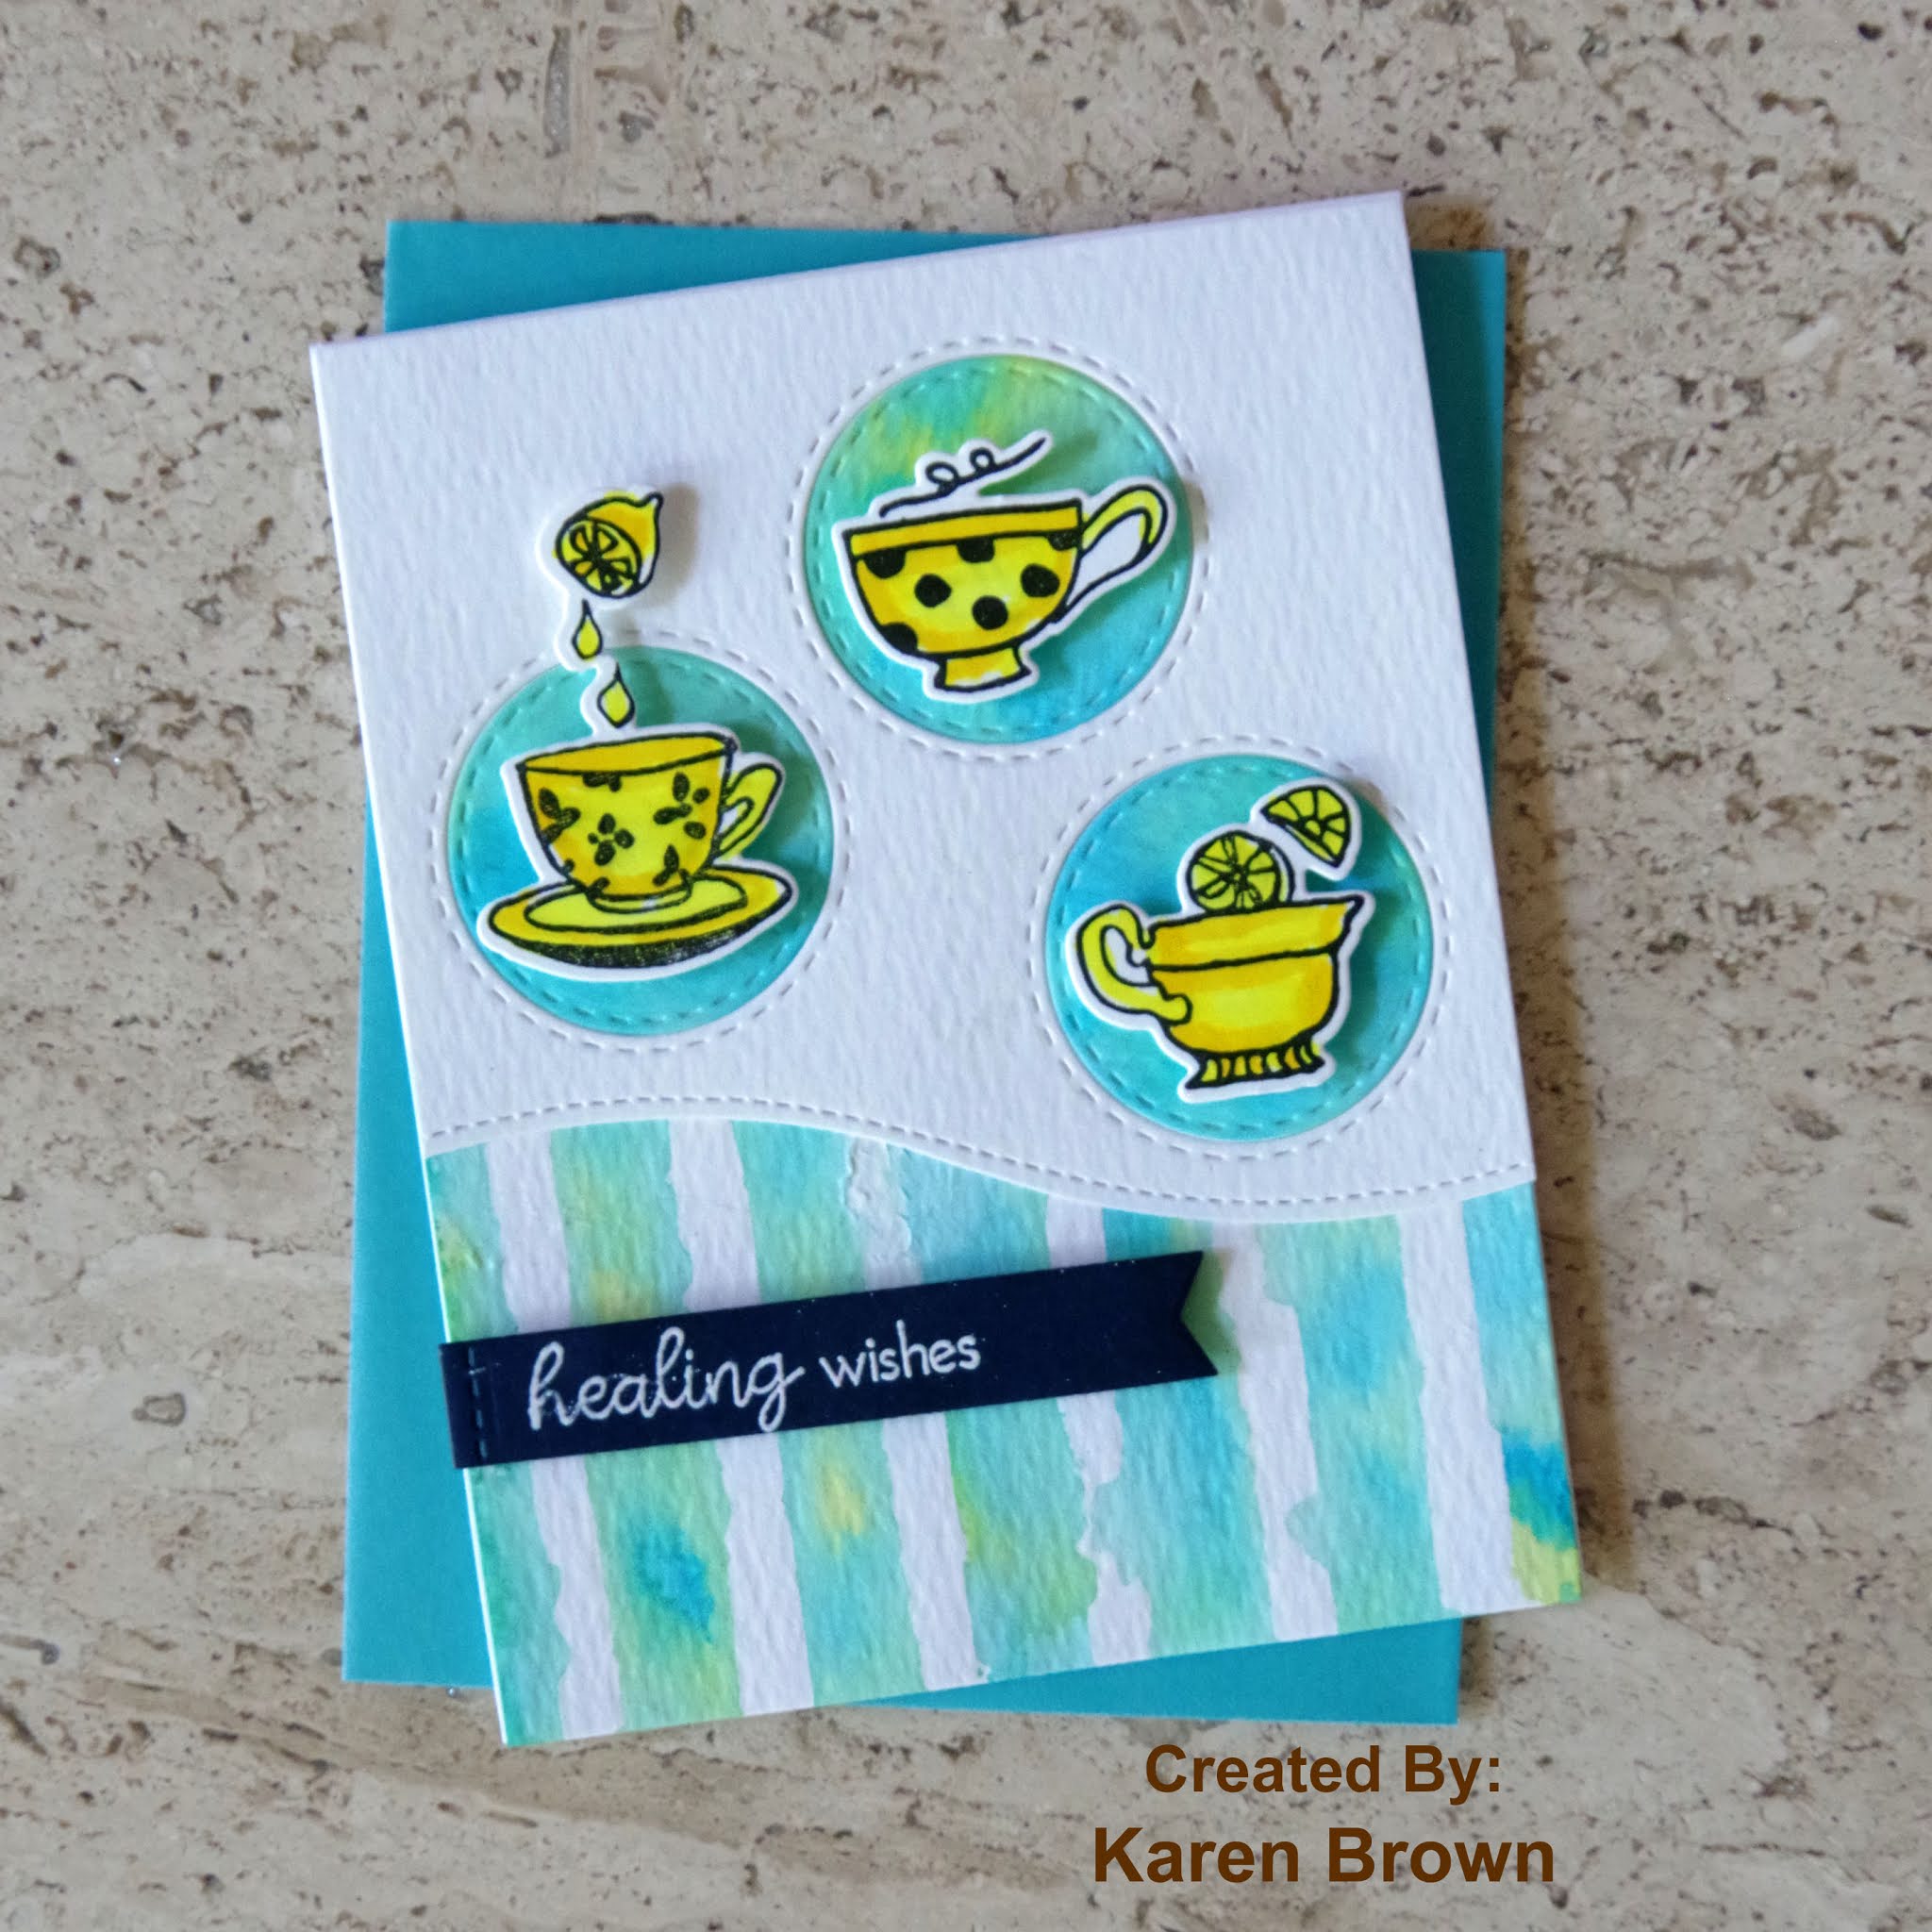
This first card is my husband's favorite of the group. Mark's beverages of choice are coffee and hot tea....he makes a pot of each every day and the color yellow is very encouraging and optimistic (In The Mood For Color). My idea was to make inlaid circle die cuts that coordinated with a hand crafted background. We worked on inlaid die-cutting in Beyond Basic Backgrounds and stencil overlays in Celebration Stencil Techniques.
- I started by taping my Altenew Watercolor Stripes stencil to a watercolor paper panel. I then wet the paper with clean water and then dabbed and pounced three colors of distress ink onto the paper. I LOVE this technique and think it makes a very fun background.
- Next, I took a second watercolor panel and used the wet on wet technique to dab the same three colors of distress ink on the panel. After the paper dried, I die cut three 1 1/2" circles.
- I die-cut a white watercolor paper overlay for the inlaid technique.
- I stamped, Copic colored and die cut three coffee/tea elements from Altenew's Tea Time stamp and die bundle.
- I heat embossed an encouraging sentiment on navy cardstock.
- I assembled the card using liquid glue and foam squares (for the cups and sentiment).
- I started by negative masking three 1 1/4" squares. I then used ink blending brushes to liberally apply ink to the squares.
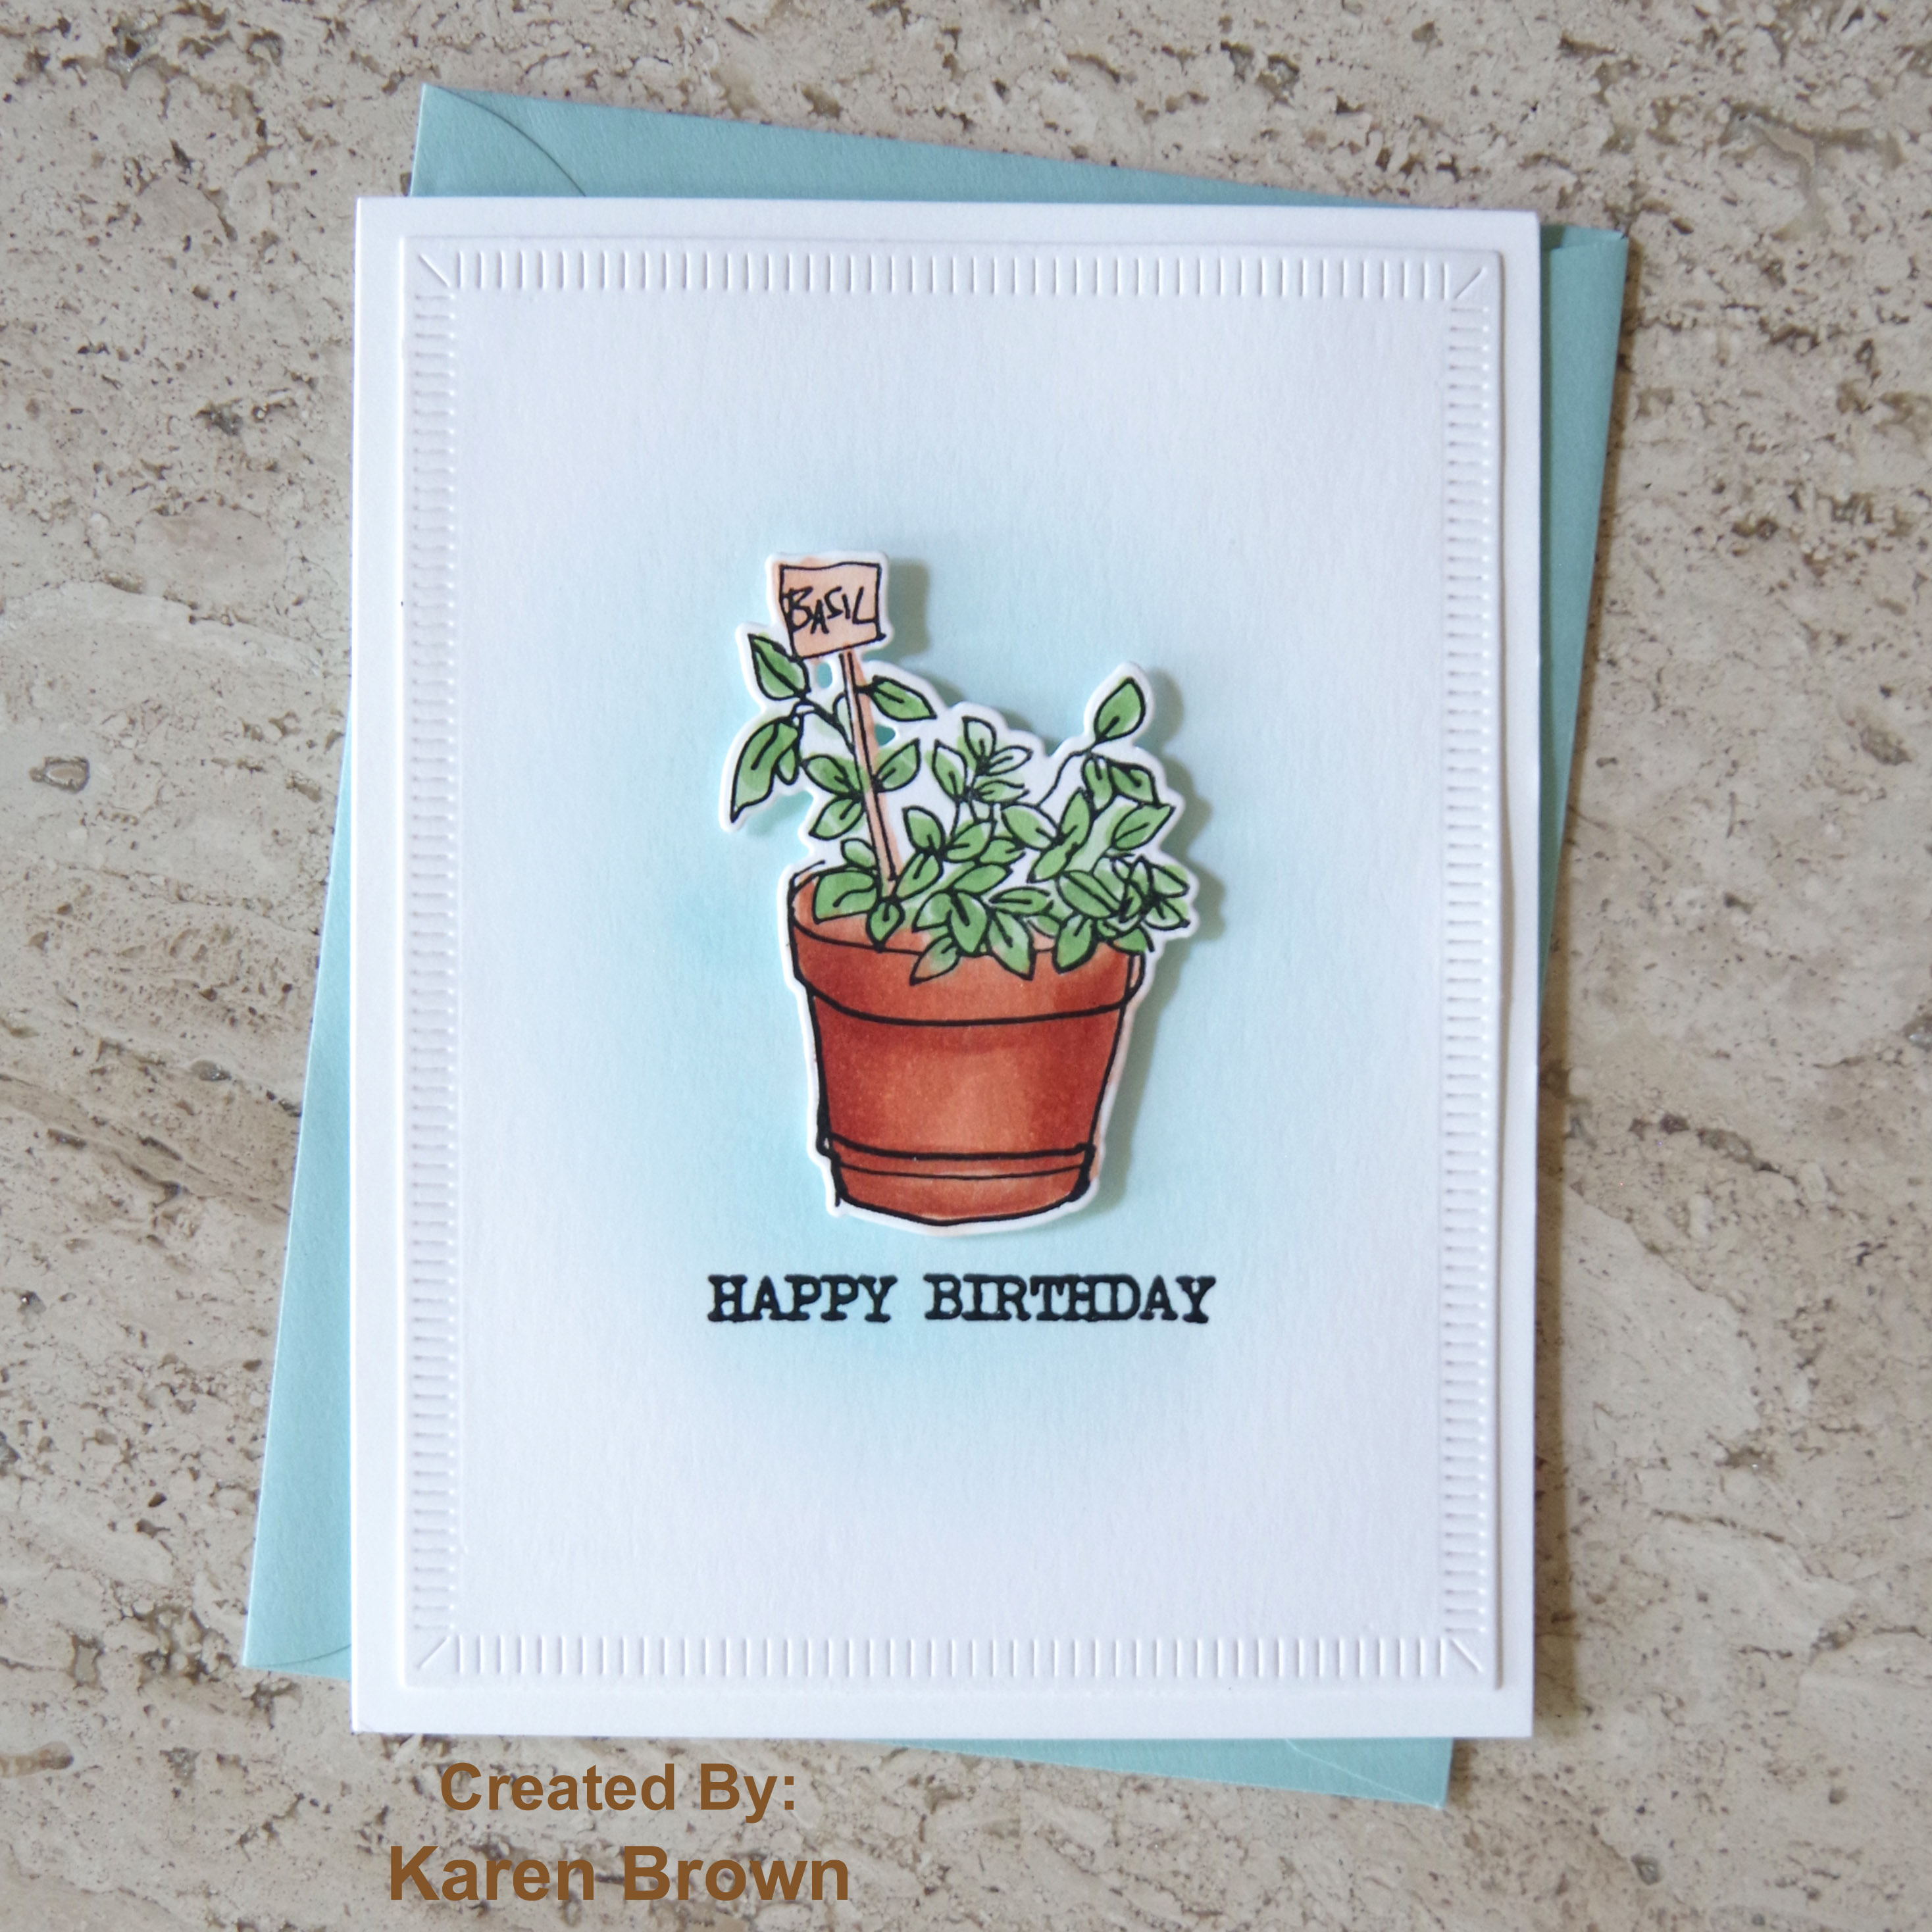
- I stamped and die cut three images from Altenew's Garden Grow stamp and die bundle. I wanted the colors to be the star so I left the images uncolored. I think this makes for a very eye-catching look.
- I heat embossed a birthday sentiment on blue card stock and then assembled my card.
Love/Thinking of You Card:
- I masked off a large negative mask around my card panel. I blended in a medium blue and then applied a vivid blue around the edges. So pretty and fun to do!
- I stamped, Copic colored and die cut two images from Altenew's Garden Grow stamp and die bundle. This is one of the first stamp sets I purchased and it is still a favorite!
- I heat embossed my sentiment, assembled my card and attached to a top folding A2 card base.
Anniversary Card:
- I Copic colored the wreath with 3 different shades of yellow-green and green.
- I started by taping my Altenew Watercolor Stripes stencil to a watercolor paper panel. I then wet the paper with clean water and then dabbed and pounced four colors of distress ink onto the paper. I told you above that I love this technique!
- I die-cut and assembled the card on a top-folding A2 base.
Upcycled Item:
Finally, we were asked to upcycle or alter an item. I ordered some muslin favor bags for my daughter's wedding and have quite a few left so I thought this would be the basis for my upcycle project. I thought they would be cute "envelops" for cards given in person or fun little gift pouches. A lot of the techniques we learned at Altenew Academy can be applied to non-card projects and I would like to share the processes I used to decorate my muslin bags:
· Stamping on fabric
· Coloring on fabric
· Ink blending on fabric
· Felt die-cuts adhered to fabric
· Stamp layering on fabric
I started by personalizing a little bag for each of the cards that I created above.
For the Color Block Card, I
again masked three squares and then ink blended with the same (distress) inks I
used on the cards. It is interesting that
the colors change a bit on fabric, but the result is a bright fun pouch.
PRO TIP: To keep the felt from stretching and tearing while die cutting, I first glued a piece of regular paper to the back of the felt. I let it dry overnight and did my die-cutting the next day. This makes a huge difference in the quality of the die-cut!
My final idea was to do a
bit of stamp layering on fabric. I used pigment
ink, dried with my heat tool and then moved on to the next color. This card is definitely feminine but I wanted
to try the technique on muslin and all my layering stamps are flowers.
Featured Altenew Products:
Altenew Watercolor Stripes stencil
Altenew Tea Time stamp and die bundle
Altenew Garden Grow stamp and die bundle
Altenew Weekend Doodles stamp and die set
Wednesday, July 1, 2020
Altenew Academy Level 1 Final Project
- Let It Shine where we discovered how to add just the right amount of sparkle and shine to a card. I used metallic heat embossing and metallic watercolors on my feminine cards.
- Easy Die Cutting where we learned to use die-cutting to up the "Wow" factor. I used die-cuts on each of my cards as I think they add loads of impact and felt this unified both card sets.
- Easy Ink Blending - I used several ink blending techniques on my masculine card set. My two favorites were the soft blue background on the Healing Wishes card and the die-cut spotlight circles on the Get Well Soon card.
Here is an in-progress photo. The die cut elements were attached to each card with foam tape.
Wednesday, May 20, 2020
WWC272 - Helen's Challenge: Anything Goes with a Masculine Twist
I saved the die cut circles and used them to make this Encouragement Card.
I am playing along in:
The Paper Players CAS Men in Mind Challenge (#491)
The Paper Girls #200 "All About the Boys" Challenge
Paper Minutes Dog or Cat Challenge #641
I was very pleased to see this card designated "A Cut Above" by The Paper Players!
Sunday, May 17, 2020
Altenew Academy All About Layering 1


Saturday, August 3, 2019
Humorous Get Well Card
New Blog Site
Hello friends. I just wanted to let you know that I have a new blog site: Kennyscards.com I'd love for you to pop over and check it ou...
-
Happy Birthday Altenew! I am honored to be celebrating this day along with such a talented group of designers and sponsors. Die Cutting F...
-
Altenew 3D Embossing Folders Hello and thanks for hopping! I am so excited to be participing in Altenew's new release of 3D Embossin...