Hello, hello and welcome! I can't believe it is September already. This week at Watercooler Wednesday we are creating feminine cards and Helen is our hostess.

Hello, hello and welcome! I can't believe it is September already. This week at Watercooler Wednesday we are creating feminine cards and Helen is our hostess.

Hello, hello....so pleased you stopped by! I finished Altenew Academy's Level 2 Classes and wanted to share my final project. I was challenged to make four masculine cards for four different occasions. I had loads of ideas and had a lot of fun creating. To make my cards masculine, I used my husband's favorite colors....aqua, blue and green. Mark probably wears an aqua or blue Columbia fishing shirt five days out of seven...he calls it his uniform! I also used lots of die-cuts because Mark loves those on cards. The unifying elements are handcrafted backgrounds and embossed sentiments on navy cardstock. I've learned so much over the past three months but I decided to spotlight three favorite classes:
Encouragement Card:
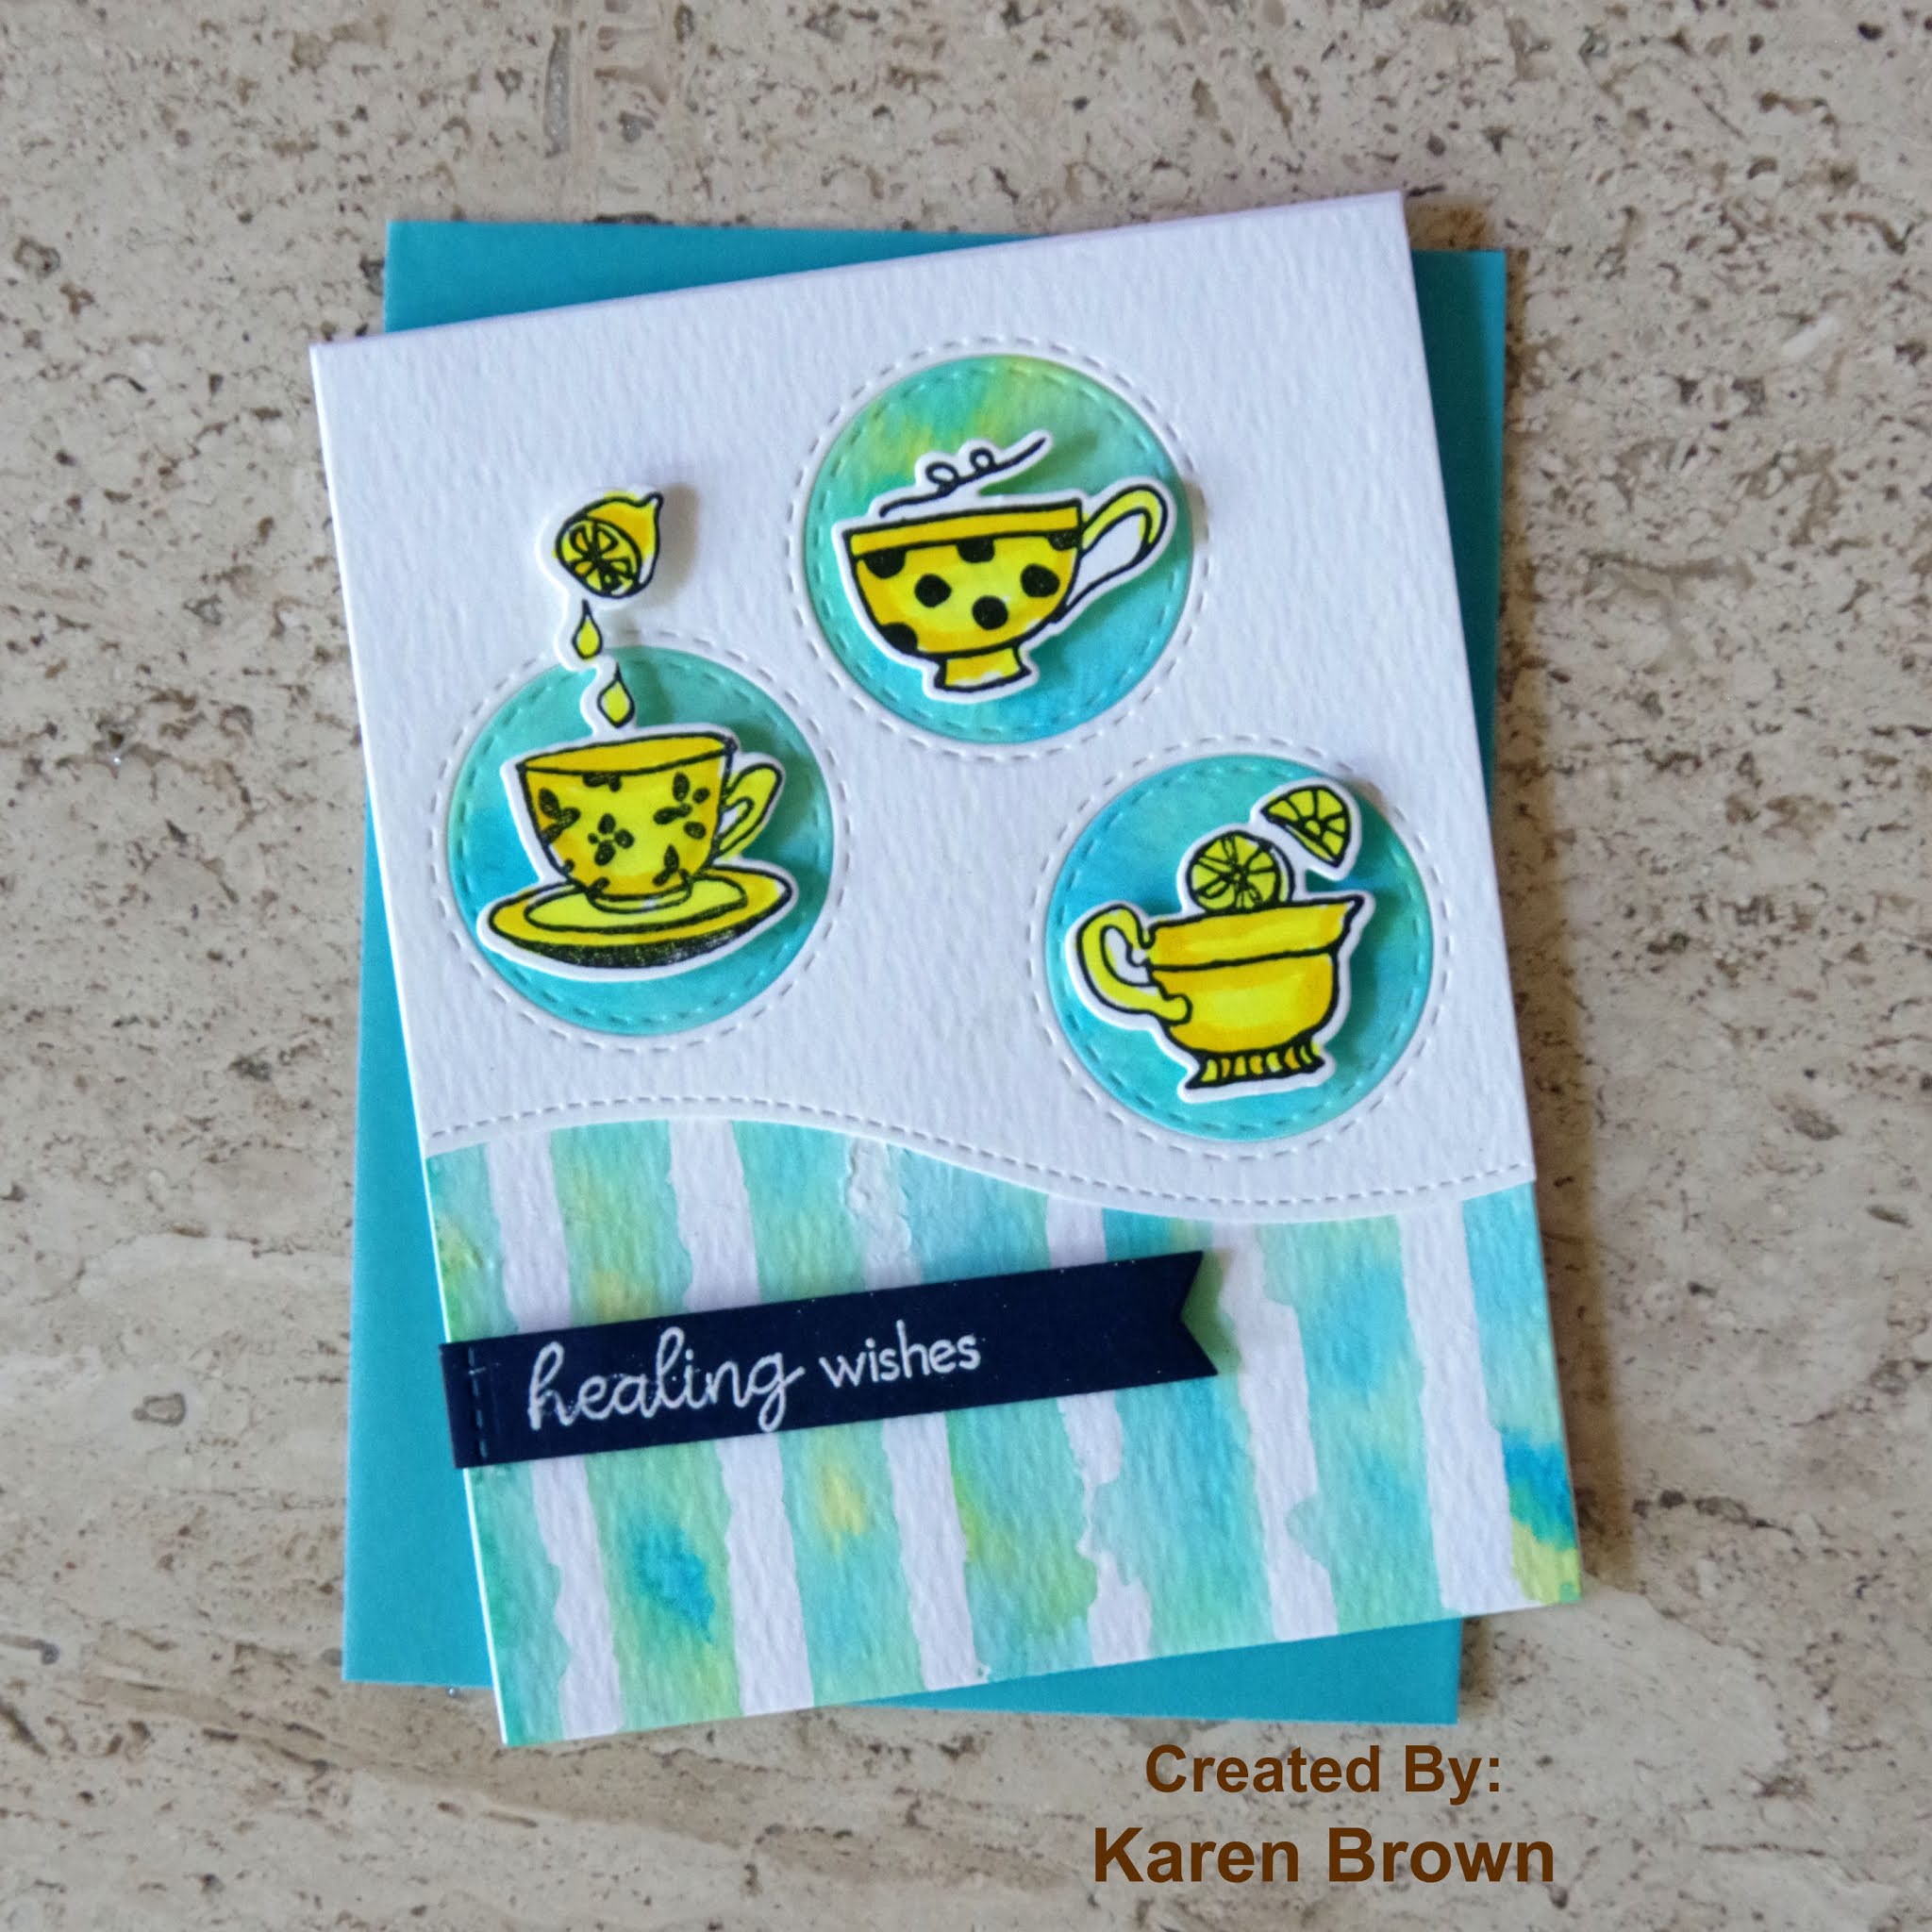
This first card is my husband's favorite of the group. Mark's beverages of choice are coffee and hot tea....he makes a pot of each every day and the color yellow is very encouraging and optimistic (In The Mood For Color). My idea was to make inlaid circle die cuts that coordinated with a hand crafted background. We worked on inlaid die-cutting in Beyond Basic Backgrounds and stencil overlays in Celebration Stencil Techniques.
Upcycled Item:
Finally, we were asked to upcycle or alter an item. I ordered some muslin favor bags for my daughter's wedding and have quite a few left so I thought this would be the basis for my upcycle project. I thought they would be cute "envelops" for cards given in person or fun little gift pouches. A lot of the techniques we learned at Altenew Academy can be applied to non-card projects and I would like to share the processes I used to decorate my muslin bags:
· Stamping on fabric
· Coloring on fabric
· Ink blending on fabric
· Felt die-cuts adhered to fabric
· Stamp layering on fabric
I started by personalizing a little bag for each of the cards that I created above.
For the Color Block Card, I
again masked three squares and then ink blended with the same (distress) inks I
used on the cards. It is interesting that
the colors change a bit on fabric, but the result is a bright fun pouch.
PRO TIP: To keep the felt from stretching and tearing while die cutting, I first glued a piece of regular paper to the back of the felt. I let it dry overnight and did my die-cutting the next day. This makes a huge difference in the quality of the die-cut!
My final idea was to do a
bit of stamp layering on fabric. I used pigment
ink, dried with my heat tool and then moved on to the next color. This card is definitely feminine but I wanted
to try the technique on muslin and all my layering stamps are flowers.
Featured Altenew Products:
Altenew Watercolor Stripes stencil
Altenew Tea Time stamp and die bundle
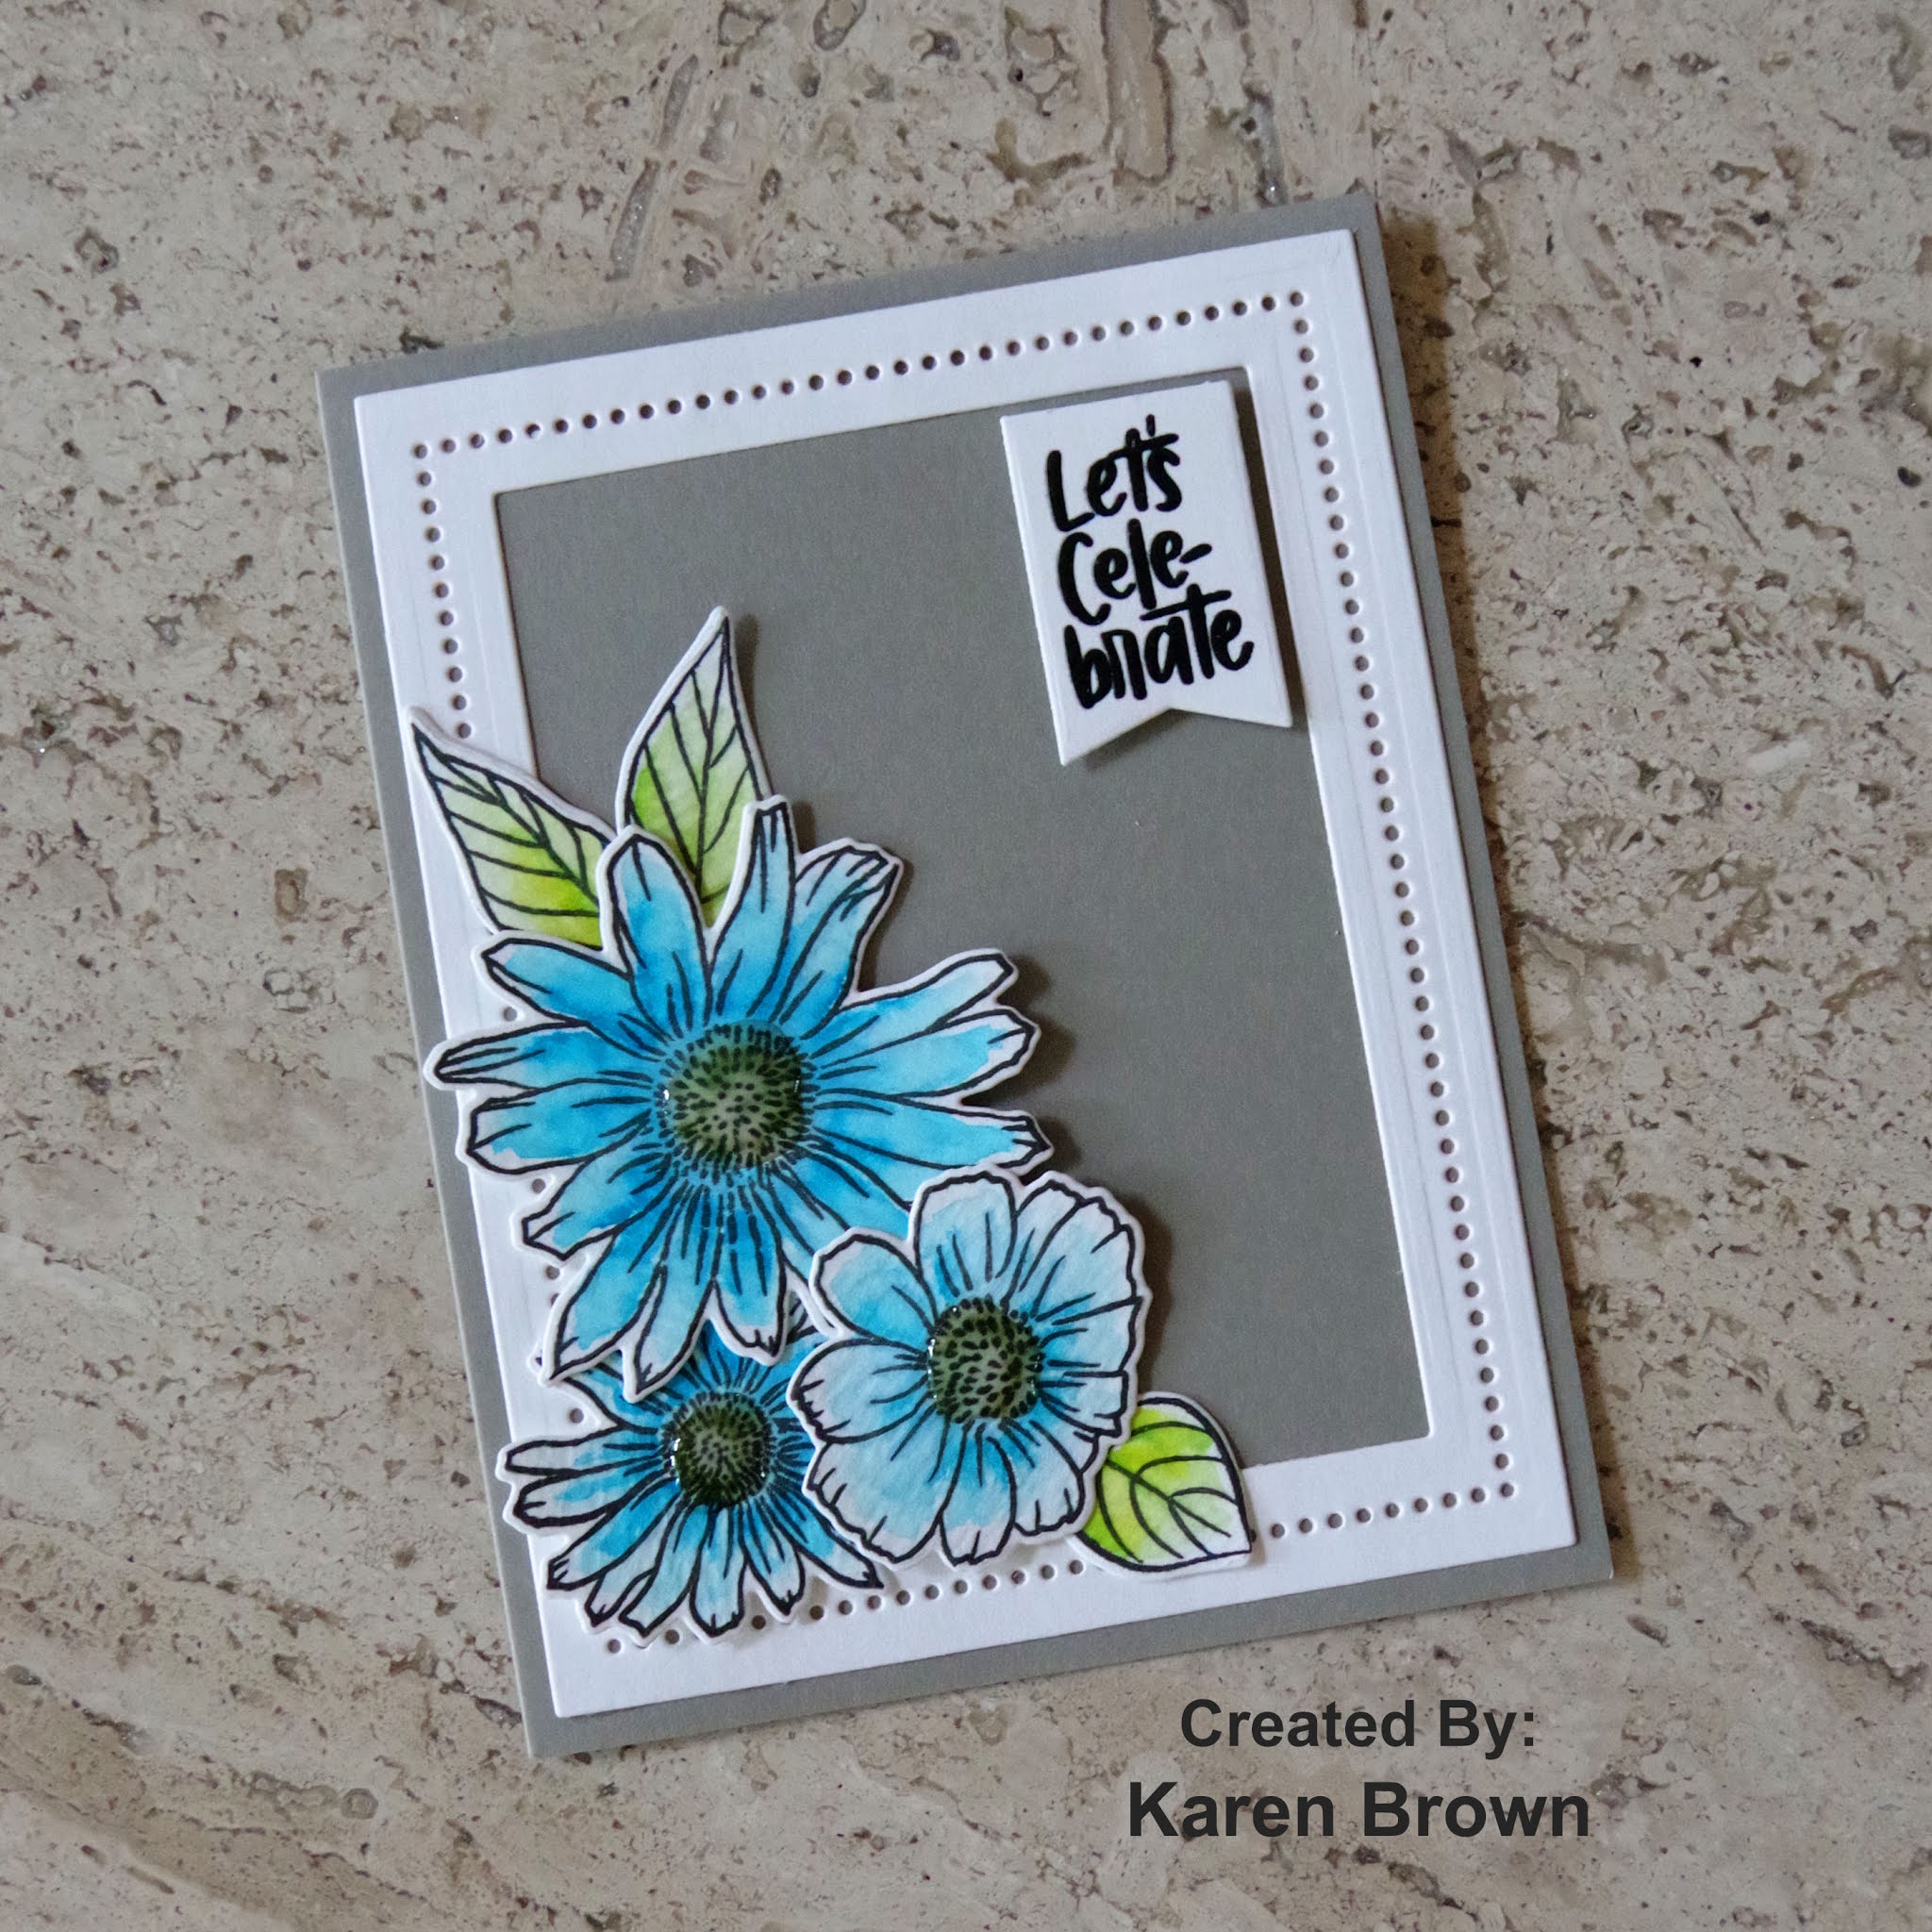
Altenew Garden Grow stamp and die bundle
Altenew Weekend Doodles stamp and die set


Hello! A little update....I haven’t made a card in the past two weeks because we moved out of our house so some renovations could be done. I did pack up a few crafting supplies and had time to finish another Altenew Academy class. This one was called “Magical Markers” and it was taught by Sara Naumann. Sara had lots of great lessons, but I wanted to show my homework assignment from Lesson One, Metal and Alcohol Markers.
I had never used alcohol markers on metal, but I LOVED the result. In lesson one we used markers on Alcohol Ink Foil Tape Sheets.


Hello friends. I just wanted to let you know that I have a new blog site: Kennyscards.com I'd love for you to pop over and check it ou...