Showing posts with label Zig Clean Color Real Brush markers. Show all posts

Tuesday, February 2, 2021

Altenew Mini Flan Cake

 I have a quick blog post for my two newest cards using  Altenew's Mini Flan stamp and die set.  For my first card, I used my  Large Blending Tool  to blend Sand Dunes and Mocha from  The Coffee Break Ink Cube Set onto some textured watercolor paper.  I then stamped, used water color markers and die cut the flan.  My sentiment is from new favorite  Essential Sentiment Strips.

Masculine birthday card
I used watercolor markers on my second card as well.  The sentiment is from Essential Sentiment Strips. I also added three enamel dots from the New Day set.

I am so pleased that you stopped by!

Karen


Sunday, July 26, 2020

Altenew Academy: Polychromatic

Hello!  I just completed the Polychromatic Class at Altenew Academy and I have some cards I would like to share.  Our instructor, Nina Marie Trapani, taught us about color and  color combinations.  The cards in this post are from lesson #4 "Watercoloring with Similar Colors".  I will say this monochromatic look is difficult to photograph because of the minimal contrast.
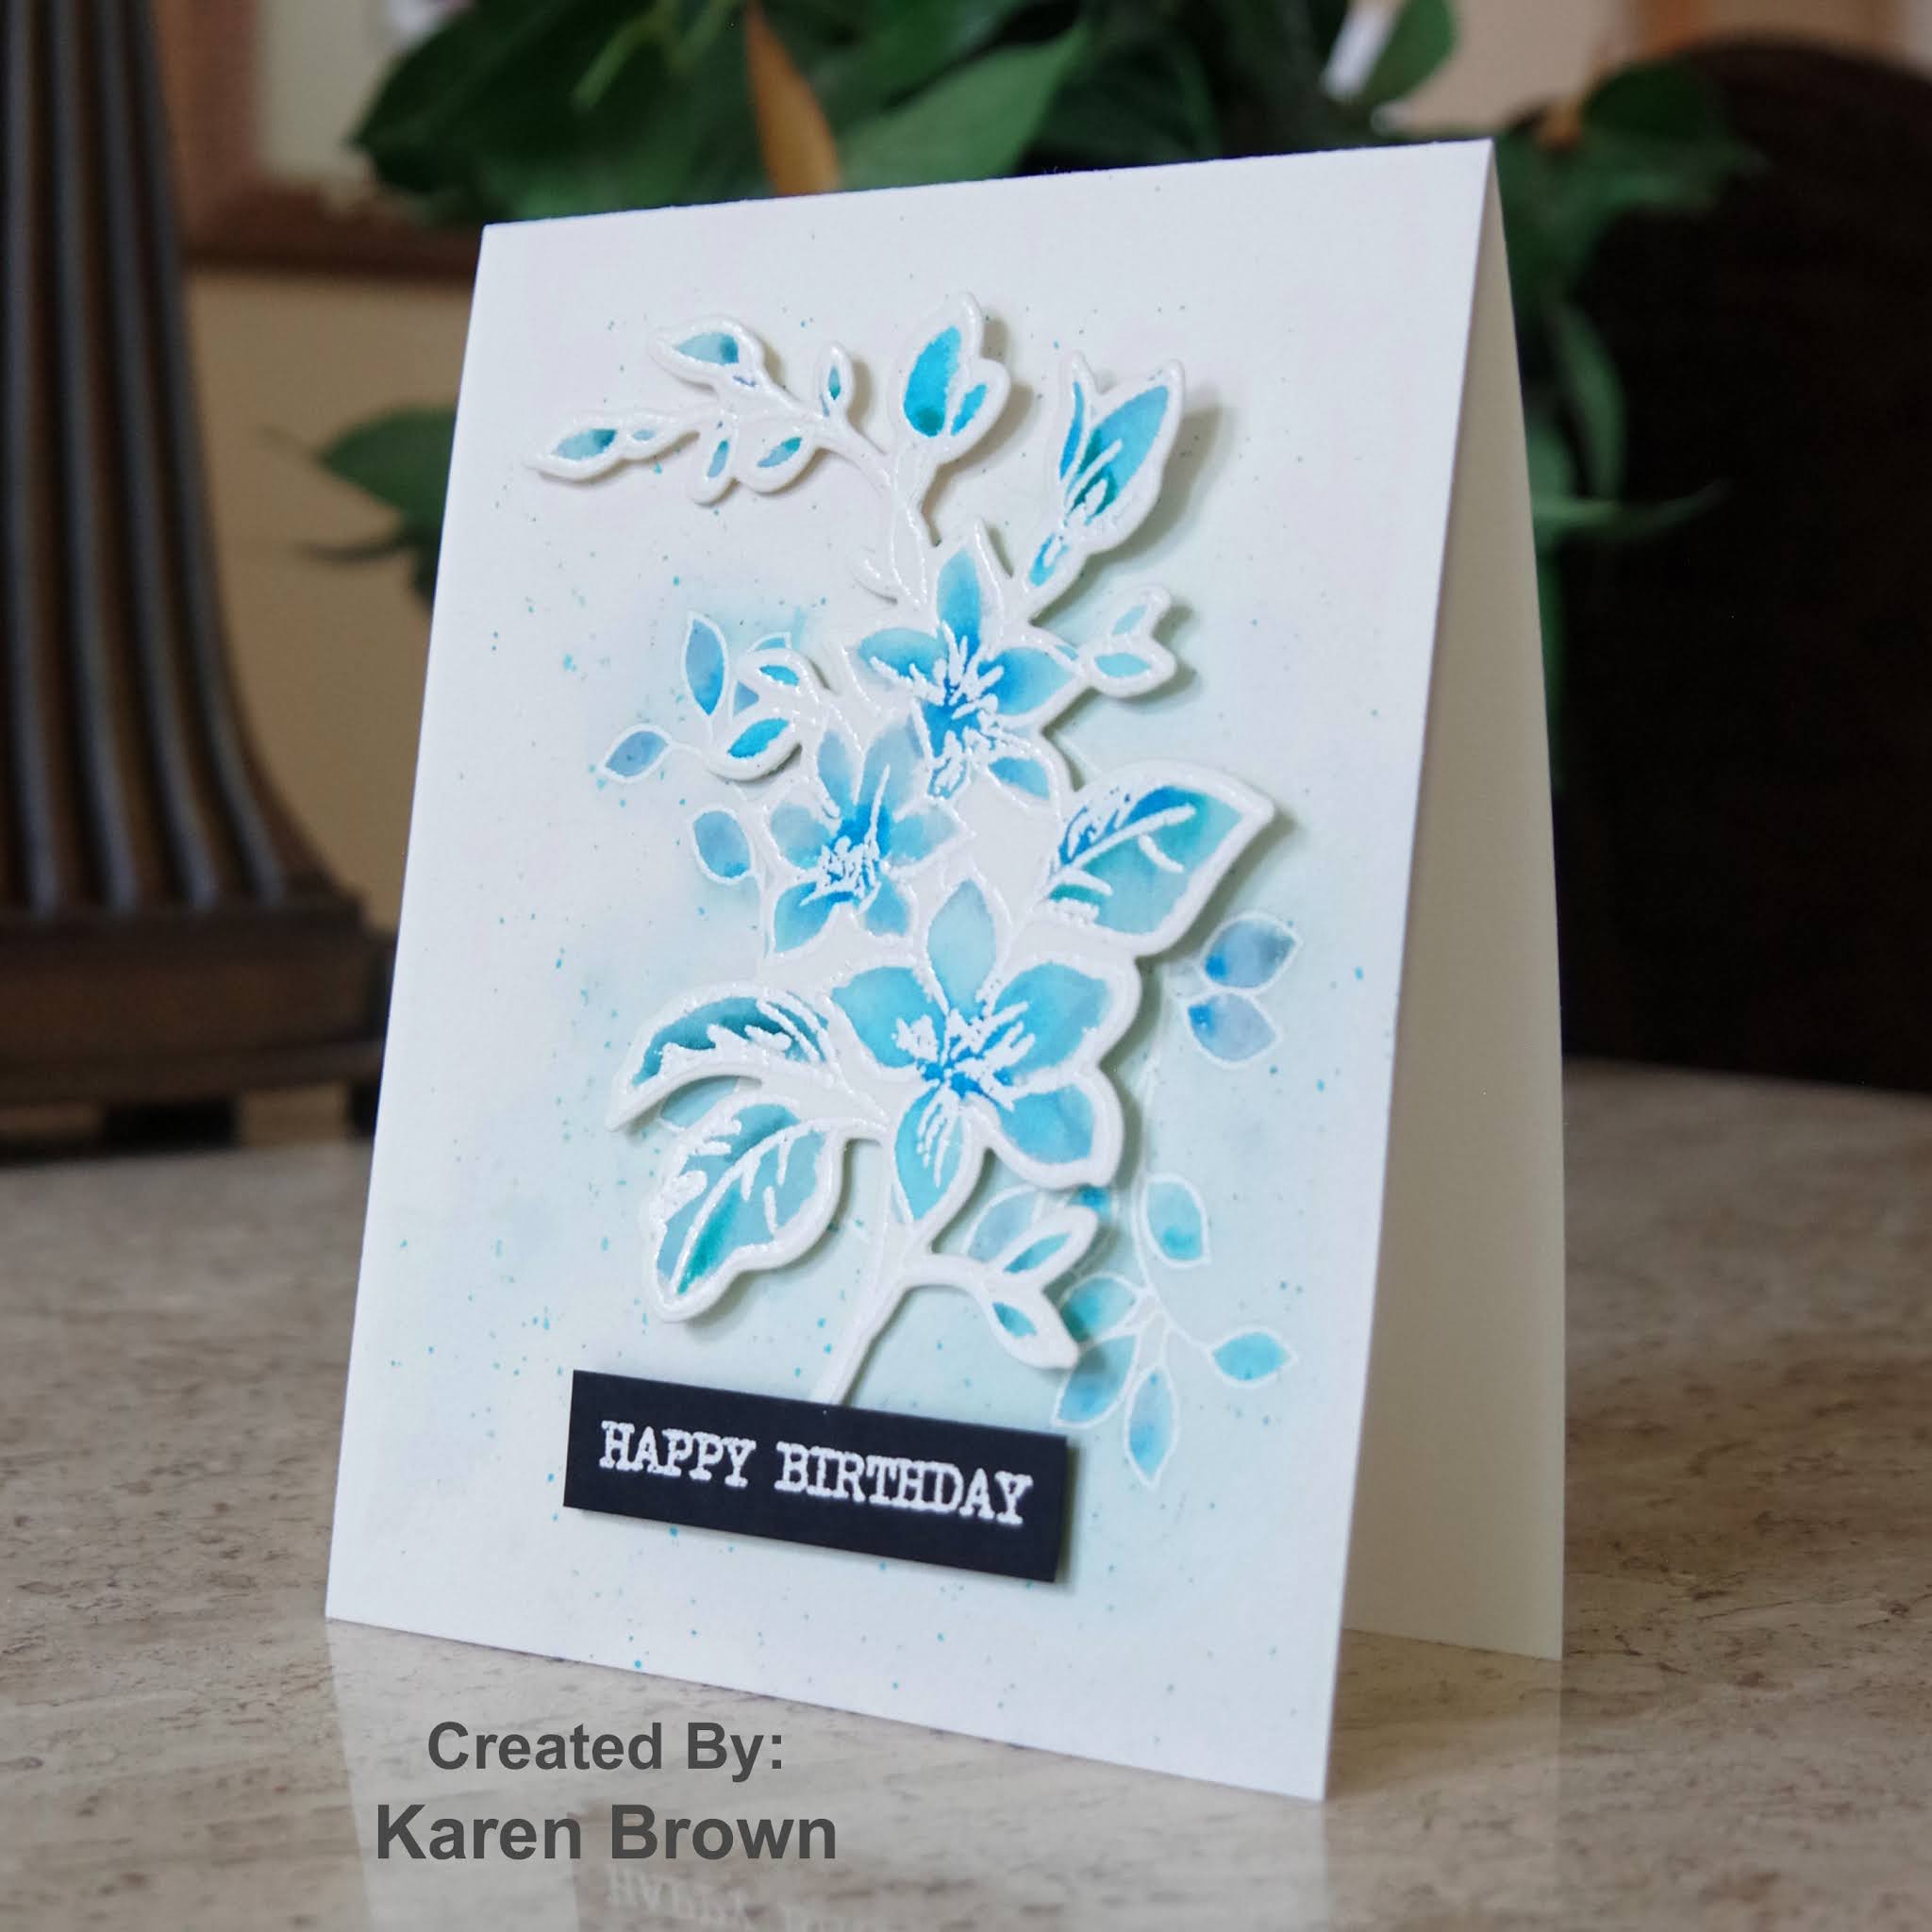
For my first card, I heat embossed the spray in white and then colored the blooms and leaves with Zig markers and a wet paint brush.  I used 5 similar shades ranging from light blue to aqua to turquoise to teal.  I made an A2 card base from watercolor paper and heat embossed some leaves for the background.  I took the same five colors and scribbled in the leaves, sprayed with water and dried. The next round I added scribbles of color in the leaves and on the background, sprayed and dried.  I repeated one more time and then added paint splatters in the same five colors.  The background is subtle but really adds dimension to this monochromatic card.
I decided to create the card again but with similar colored embossing powder for a bit more definition.  The Zig colors ranged from Blush for the leaves to Sugared Almond, Light Pink, Peach Pink and Dark Pink.  On this card, I did not emboss the background but just scribbled color, sprayed and dried and repeated a couple of times. I finished with pink paint spatters.  
Altenew Supplies Used:
Altenew Best Mom stamp and die bundle
Altenew Mini Branch stamp (for blue background)
Altenew Golden Peach Embossing Powder

I would love to hear which card you like best.  Thanks for stopping by!
Karen

Monday, July 20, 2020

Altenew Academy "With A Twist"

I just completed Altenew Academy's Class "With A Twist" and I created a bunch of cards.  The class was all about trying the unexpected.  I am sharing my favorite card from the series and it was from Class #6 "Die Cutting With a Twist".  Our instructor, Therese Calvird, showed us how to do faux embossing with die cuts.  I had never done this technique before but it does result in a dramatic and showy card.
My Process:
  • I stamped two A2 Bristol panels full of leaves and blooms from Altenew's Smile More stamp and die bundle.
  • I colored them with Zig markers and used a damp brush to blend the colors.
  • I die cut everything.
  • I wanted to use a big scripty sentiment so I heat embossed Enjoy on an A2 card front made of Bristol cardstock and Your Birthday on a scrap of black cardstock.
  • I played around with the layout and when I was happy, I glued the die-cuts down with liquid adhesive.  I was sure to leave all the edge images over the edge and then I took sharp scissors and trimmed  the die-cuts flush to the edge.

Pro Tips:
  • Stamp and color a lot of images.  For this card I stamped and colored two complete A2 panels worth of  blooms and leaves.  You don't want the card to look skimpy and there is quite a bit of waste after your trim around your card.  
  • I made my own card base out of Bristol cardstock so the cardbase and die-cuts would blend well. 
  • I stamped one panel with Ranger Archival Jet Black ink and one with Versamark Onyx black and found I got a better result with the Onyx Black. The Archival required multiple stamping and after drying for one day, one bloom still smeared a bit.
I am also playing along with:
Allsorts "Flowers All Over"  I "faux embossed"  flowers all over my cardbase.

The Flower Challenge "Summer or Winter"  The answer for me is summer!  I love summer...the sun, warm weather clothes, bright colors, long days....  These daisies are very summery to me.  

Thanks for stopping by!
Karen


Wednesday, July 1, 2020

WWC278 - Michelle's Challenge: Anything Goes with a Feminine Twist

Do you ever have a leftover scrap that you just love?  That is how this card came to be....I made a pretty background  (link to card here) and had a bit left so that was the starting point for this creation.  I thought it was a pretty feminine card so I selected it to be my design team card for this week's Watercooler Wednesday "Feminine" Challenge.
I added a bold floral focal point, heat embossed a sentiment, created a layered look with foam tape and added a couple of embellishments from my scrapbooking days.  
Supplies Used:
Altenew Watercolor Stripes Stencil
Altenew Smile More stamp and die bundle
Spellbinder's Sentiment
Distress Inks (Salty Ocean, Mermaid Lagoon, Twisted Citron)
Zig Markers:  Emerald, Green Shadow, Pale Yellow, Yellow, Bright Yellow
Initial Embellishments

Make My Monday "Use Stencils" Challenge My background is watercoloring with distress ink over a stencil.

Festive Friday FF0062  I picked CAS design, birthday theme and floral theme.


I am so pleased that you stopped by!
Karen

Sunday, June 7, 2020

Altenew Academy - Irresistable Inking

Hello and welcome!  I've been working my way through Altenew Academy's Irresistible Inking class and I wanted to share this card.  Sara Naumann is the instructor and she provided loads of inking details, tips and techniques to make cards more interesting.  I used three of these techniques on my card.  After watching all the videos, I was inspired to make a vintage look masculine card.
A vintage look masculine card featuring Altenew Garden Grow stamps.
My Process:
  1. I started by using the stamp block inking technique we learned in Class #3.  I took a square acrylic block, inked it with Altenew Sand Dunes ink, spritzed with water and then stamped on a Bristol cardstock panel.  Sand Dunes was a great ink to use because it looks vintage but it is light enough to color over.   I was going for a rustic, uneven masculine effect.  
  2. I popped out to have a latte and once the panel was dry, I stamped the planter on the inked square and then colored with Zig markers.
  3. I trimmed the panel down and then inked around the edges (lesson #4) of the square with the same Sand Dunes ink.  This is very subtle but the inking frames the vignette and gives a little more  definition to the card.  
  4. I also block stamped the Sand Dunes on a scrap of Bristol cardstock so the sentiment strip would coordinate with the square panel.  I  inked the edges of the sentiment strip and then heat embossed the sentiment.   
  5. I made a top folding A2 card out of Bristol cardstock and then used a small paint brush to make Sand Dunes splatters over the card base.
  6. I adhered the square panel and sentiment to the card base with foam tape.

Supplies:
Altenew Garden Grow stamp set
Altenew Sand Dunes ink (background, edges and paint splatters)
Square Acrylic Block
#2 paint brush
Small Spray Mister
Bristol cardstock
Zig Markers (Deep Red, Wine Red, Pale Rose, Oatmeal, Dark Oatmeal, Olive, Mid Green, May Green and blender)
Versamark Ink (planter and sentiment)
clear embossing powder.
Foam Tape

I am also playing along with:

With all the social distancing, I have been staying home a lot more than usual and these Altenew Academy classes have been the perfect activity for me to grow my card making skills.

Thanks for stopping by!
Karen

Thursday, June 4, 2020

Altenew Academy: Celebration Stencil Techniques

Hello and welcome.  I just finished a wonderful Altenew Academy course and I am excited to share my card with you.   Laurel Beard taught us stencil techniques and I loved them all!  This is my favorite card from the class.  I also used my favorite Altenew stamp and die bundle called Weekend Doodles.
Bright card featuring Altenew Watercolor Stripes Stencil and Weekend Doodles stamp and die bundle.
My inspiration came from lesson 3:  Stamping with Stencils and  I chose to watercolor over my stencil.

My Process:
  1. I taped my stencil to a 6 x  6 piece of watercolor paper.  Next, I wet my watercolor paper well with a brush.  I then "pounced" three colors of distress ink onto the wet watercolor paper.  
  2. I haven't used my Zig markers in months but they were exactly what I wanted for this project because of their bright vibrant colors.  I heat embossed my floral image, colored with Zigs and then die cut.
  3. I die cut a white panel for the sentiment and to provide some contrast with the bold stripes and then heat embossed the sentiment.  I glued the white panel to the background and then used foam tape to adhere the flowers.
Supplies:
Altenew Watercolor Stripes Stencil
Distress Inks:  Salty Ocean, Mermaid Lagoon and Twisted Citron
Zig Markers:  Emerald, Green Shadow, Pale Yellow, Lemon Yellow, Yellow and Bright Yellow.
Watercolor Paper
Neenah Cardstock
Versafine Onyx Black ink and Clear Embossing Powder
Liquid Glue
Foam Tape

I am also playing along with:


I was so pleased to see this card chosen as a Top 3 at Tuesday Thowdown!


I am so pleased you stopped by and I would love to hear what you think about this card.

Karen


Saturday, May 23, 2020

Altenew Academy - Clean and Simple Boutique Card

Hello and welcome.  Today I am sharing my third card from my Altenew Academy journey.  Jennifer Rzasa taught us about Clean and Simple Boutique cards and I learned a lot.  I chose to write my blogpost about my homework assignment for lesson 2 - Stamped Backgrounds.  I love pattern stamping, but this card pushed me out of my comfort zone because of the loose water coloring.  
My inspiration came from Jennifer when she said don't worry about being precise...keep is casual.  I chose to use Altenew's Garden Grow stamp set, which was the first Altenew purchase I ever made.  It is still one of my favorites.  

My Process:
I started by making an A2 card out of Bristol cardstock.    I found the center of my card, and using an acrylic block, I  stamped the first potted plant in the middle of the card.  Working out from the middle I stamped the rest of the plants.  I then went back and filled in with the rainboots.  Next, I scribbled four colors of Zig watercolor markers on my glass media mat.  The next part was the most challenging for me as Jennifer encouraged us to use a large brush and big strokes to fill in the images.   I used two colors on each image starting with the lighter color and then adding contrast with the darker color. 

 The background is the card and I like how the colors are muted and understated.  

Supply List:
Altenew Garden Grow Stamp Set
Bristol Cardstock
Zig Watercolor Markers (yellow, bright yellow, mid green and olive green)

I would also like to play along with Cardz 4 Galz CASE Your Wardrobe Challenge I have not one, not two but three pairs of olive green pants.  They are all so comfy I keep buying more.  My card has a simple palette of olive green and pale yellow.

Thanks for stopping by!
Karen


Wednesday, December 11, 2019

WWC251 - Dawn's "All About Occasions" Challenge

Hello and welcome. This week we are making "Occasion" cards at The Watercooler Wednesday Challenge which means holiday cards to birthday cards to sympathy cards...the list is vast.  Dawn is our talented hostess.
I chose to make some thank you cards to use during the holiday season.  I wanted bright, festive and fun so I opted to go with my Zig markers.  

I stamped, colored and die-cut my wreath.  My wreath has five Christmas colors. I wanted a clean and simple look but with a bit of interest on the background so I dry embossed an A2 panel.  I liked that the planks look snow covered when embossed on white paper. I also wanted a small sentiment that would fit inside the wreath and within the boundaries of the plank so I looked through my sentiments and found this cute little one.

I like the top folding cards I see online but I had never made one until this card. I do think it adds a fun little twist to cards.  While I was at it, I made a batch of top folding cards so I will be making more in the future.

ZIG Clean Color markers in 036, 031, 033, 053, 041, 200, 202, 029
Supplies:
Tim Holtz Alterations Wood Planks Embossing Folder
Bristol Cardstock
Zig Markers:  036, 031, 033, 053, 041, 200, 202, 029 + blender
Versafine Black Ink for wreath
Gerda Steiner Hedge Hog Sentiment (with Archival Jet Black ink)

I am submitting my card to:
Bright happy colors raise my spirits and bring me joy.  


UPDATE:  My card was selected as a Top Pick at The As You See It Challenge:

Thank you for stopping by!
Karen
Image may contain: text


Wednesday, December 4, 2019

WWC250 - Helen's Feminine "Anything Goes" Challenge

Hello and welcome. This week we are making "feminine" cards at the Watercooler Wednesday Challenge. Talented Helen is our hostess. 
I wanted to do a pretty thank you card so I started by stamping,  coloring and die cutting this favorite wreath.  I wanted a subtle white on white backdrop so I die cut a basket weave panel and affixed to an A2 card base. I love the pretty little sentiment which I heat embossed. 


Supplies:
Avery Elle - Festive Wreath stamps and dies
Frantic Stamper Basket Weave die.
Bristol Cardstock
Zig Clean Clear Markers (May Green 47, Pale Green 45, Lt. Carmine Red 21, Red 20, Light Blue 36, Cobalt Blue 31). 
Sentiment:  Photoplay Paprika

I am pleased to be entering my card in:


UPDATE:  My card was selected as a "Top Cup" at The Sunday Stamps Challenge:


Thanks for stopping by!
Karen
Image may contain: one or more people and text

Wednesday, October 9, 2019

WWC242 - Marsha's "All About Occasions" Challenge

Hello and welcome...I am so pleased you stopped by!  This week is "All About Occasions" at The Watercooler Wednesday Website and Marsha is our hostess.    There are so many occasions and this week is a bit unique for me.  My niece recently pledged my college sorority and I wanted to send her a card for initiation.  Kappa's colors are blue so that was my color theme.
A handmade card for Kappa Kappa Gamma sorority.
I recently purchased WPlus9's New Home stamp and die set and their Wood Planks stamp.  I put them together to create this welcome home scene card.  

Supplies:
WPlus9 New Home stamp and die set
WPlus9 Wood Planks stamp
Bristol Card Stock
Versafine Onyx Black ink
White embossing powder (Welcome sentiment)
Foam Tape (planters, light and wreath)
Connect Glue
Zig  Clean Color Watercolor Brush Markers:
  • Siding/light/planters:  Gray 90, Light Gray 91, Cool Gray 99 and blender
  • Walkway:  Cool Gray 99 and Beige 72.
  • Rug:  Beige 72, MidBrown 65
  • Door: Deep Blue 35, Prussian Blue 32, Blue Haze 303, Blender
  • Greenery:  Mid Green 46, Olive 43.
I am entering this card in:
Happy Little Stampers Watercolor Challenge using topiaries, a potted plant and wreath as my optional botanicals.


Addicted to Stamps - Make Your Mark


Sisterhood of Crafters - Wood  I stamped wood siding on my house and used the wood planks stamp for the ground.

Happy Little Stamper "Die" Challenge.  Lots of die cuts on this card:  Door, mat, topiaries, wreath and light.

Thanks for stopping by!
Karen


Image may contain: text

Friday, September 27, 2019

Autumn Coffee

Hello and Welcome!  Last year, Jane's Doodles had the cutest fall stamp sets so I commented on a blog post.  I would have left the comment anyway but was excited to learn that I would be receiving both sets as a gift from Jane's Doodles.  

Random Pattern Stamping with Zig Clean Color Real Brush markers.
I thought  some pattern stamping would be bright, fun and seasonal.

Recipe:
Jane's Doodles Pumpkin Spice stamp set.
Jane's Doodle's Hello Fall stamp set
Zig Clean Color Real Brush markers

I am entering this card in:
Fusion "Coffee" Challenge:  I went with the Autumn Coffee/Latte Inspiration focusing on the season, lattes and color scheme in the photo.
Lil Red Wagon "Fall It" Challenge:  I used Fall seasonal  items and colors for this fun prompt.

Stamp Ink Paper "Designer's Choice" Challenge:  I was pleased to see SIP is back!  I went with bright bold seasonal color for my "designer's choice" creation.

UPDATE: I was so pleased to that this card was selected as a Stamp, Ink Paper "Winner" and "Favorite at Little Red Wagon.
Featured Button


Thanks for stopping by!
Karen


Wednesday, September 25, 2019

WWC240 - Kath's "All About Occasions" Challenge

Hello and Welcome!  This week it is "all about occasions" at the Watercooler Wednesday Website and Kath is our hostess.
I've been playing around with Dare 2B Artzy stamps and dies and Zig markers.  I stamped the bloom on Bristol cardstock and then used my favorite Zig colors.  I stamped the sentiment and leaves, die cut the bloom and then adhered with foam tape.

Supplies:
Dare 2B Artzy Flowers for Mom stamp
Dare 2B Artzy Joyful Flowers Die
Bristol Cardstock
Pool envelop

Zigs:
202 Peach Pink
200 Sugared Almond
050 Yellow
052 Bright Yellow
031 Cobalt Blue
036 Light Blue

Dare2BArtzy Favorite Color Challenge  I love bright colors and I would have to say "aqua" blue is my favorite. Zig calls it Cobalt Blue and Light Blue. 

Thanks for joining us at Watercooler Wednesday!
Karen
Image may contain: text

Wednesday, July 31, 2019

WWC232 - Anything Goes Challenge

Hello and welcome!  There are five Wednesdays in July so that means it is Anything Goes at Watercooler Wednesday

Hello Bluebird Rainbow Script Sentiment
Sometimes you just know you need a stamp. It was that way when I saw Hero Arts' Venetian Neighborhood.  This card is so much fun to color that I made four different versions in one week. This card is colored with Zigs.  The building was colored with 064 Oatmeal and 061 light brown.  I think the result is very stucco like, which is what I was going for.  This is a get well card so I wanted bright rainbow colors for the windows and clothes.  

I love the sentiment:  Hello Bluebird Rainbow Script.

Thanks for stopping by!
Karen
No photo description available.

Saturday, July 20, 2019

Tropical Pineapple Thank You Card

Hello and Welcome!  I came up with the idea for a CAS framed thank you card.  I love the pineapple form Sunny Studio Tropical Paradise and thought it would be cute in a tall skinny  stitched frame. I added the small flower, leaf and lemon wedge as a cluster.
I used Bristol card stock, colored with Zig Markers and cut with coordinating dies.  I die cut the sentiment to complete the card.  I added some white gel pen accents.  This card came together very quickly.  

I am entering this card in:  

Thanks for stopping by!
Karen

Saturday, July 6, 2019

Bright Tropical Celebration Card

Hello and welcome! Sunny Studio Tropical Paradise is a well loved stamp and die set that makes great tropical summery cards.  
Sunny Studio Tropical Paradise stamp and die set.
For this card, I stamped my images on Bristol card stock, colored with Zig markers and then die-cut.  I also die cut a stitched circle for a backdrop and a celebrate sentiment.  This card was easy to make and put together but still very fun and festive.  

I am entering this card in:
Dar and Diane's Tropical challenge - I got inspiration from both the colors and the images on their mood board.  


Cardz for Galz is celebrating their 100th challenge and I am submitting my card to celebrate along with them!


Simply Less is More "Celebrations" Challenge


Update:  My card was selected Top Three at Dar and Diane's Tropical Challenge!


Thanks for stopping by!
Karen

Wednesday, July 3, 2019

Dare 2B Artzy 3D Shaped Scene Card

I went to a card convention in Irving, Texas and bought this fun stamp  and die set (Flowers for Mom) by Dare 2B Artzy.  They had the cutest booth  full of inspiration.
Handmade 3D shaped scene card.
   When I saw their current challenge I thought it would be fun to do a 3D shaped scene card. I stamped, colored with Zigs and then die cut three floral images.  Next I made made my card base by cutting a 5 1/2" x 5 3/4" panel and scoring at 3/4" and 1 1/2" on each end.  I then used brushes and Dare 2 B Artzy "Blue Sky" dye ink to create a sky background.  I wanted to layer the flowers so I created two panels of  "grass". The back "hill" is 1/4" above the sky panel so the card actually has three levels.

Recipe:
Dare 2B Arzy Flowers for Mom stamps
Dare 2B Artzy Joyful Flowers dies
Dare 2B Artzy Blue Sky die ink
Bristol card stock
Zig Clean Color Real Brush Markers

I am entering this card in:
Dare 2B Artzy Shaped Card Challenge - I created a 3D shaped card for my flowers.

Lil Red Wagon Repeat Challenge - I repeated the layers of flowers for a full dimensional look.

AAA Birthday "For the Girls" Challenge  I just discovered the AAA Birthday Challenge. I love their sister challenge AAA Cards. 

Thanks for stopping by!
Karen


New Blog Site

Hello friends.  I just wanted to let you know that I have a new blog site:  Kennyscards.com I'd love for you to pop over and check it ou...